Source URL: https://docs.surveycto.com/05-exporting-and-publishing-data/02-exporting-data-with-surveycto-desktop/05.using-google-earth.html
Last updated: 2026-02-12
Using Google Earth
Whenever you export data in SurveyCTO Desktop, you can choose to also export a subset of that data to Google Earth (click here to learn more about Google Earth).
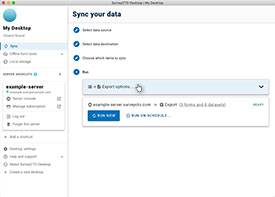
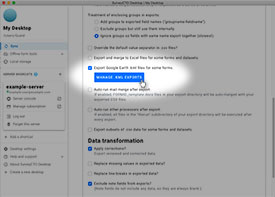
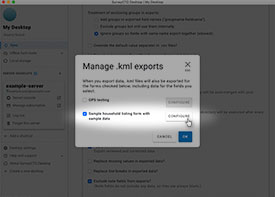
Start by beginning the data-export process the way you usually do, by choosing the source, destination, and items to sync. Just before running the sync, however, click to edit the export options. Scroll down and check the Export Google Earth .kml files for some forms option, then click Manage .kml exports and select the forms for which you would like to view data in Google Earth. (Note that only forms containing at least one geopoint field will be listed since Google Earth requires GPS locations for all data points.)
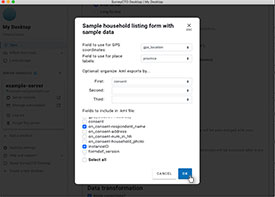
For each form that you select, you will be prompted to configure some export options. First, specify which field to use for the GPS location. Next, specify which field to use when labeling your data points in Google Earth. Finally, choose which subset of fields to include in Google Earth (the data for these fields will appear when you click on a data point).
By default, all chosen data for a given form exports to a single .kml file. However, you can also organize your exported data into multiple .kml files by choosing the fields by which you want exports organized. For example, if you choose to organize first by district, then by block, and then by village, your .kml files will be named "Form title - district - block - village.kml", and each file will only include the appropriate subset of data. This makes it easy to, for example, monitor survey operations in different areas or for different teams.
Once configured, your chosen subset of data will export to .kml files whenever new data is exported, and it will export to your same chosen export destination.


